
The old compared to the new one. It still need the "bolt end" machined to it so it can be tightened.
 A picture from the rear
 A picture from the front.
 We also painted some of the stock bodykit parts with primer.
 The rear door and dashboard were also painted with primer. Also the ghia..
 In two pieces. Where the work began.
 I tightened the piece into shape, and then glued it together with polyester resin to get it to stay in shape. After that I turned the piece upside down and reinforced it with some glass fibre cloth and polyester resin from the inside. Sadly I don't have any pictures from the inside, but I'll still have to reinforce it a bit more, so I'll add the pictures to this thread.
 First layer of filler on. I opened up the cracks a bit and filled them with carbon fibre filler. It is structural, and should hold up, but we'll see how it lasts in use.
 A couple more layers of filler and a layer of base coat. The piece still needs a couple finishing touches.
 A red, soon to be black, Karmann Ghia.
 The suspension bushings aren't aligned with each other. This is no problem in a stock car with elastic rubber bushings. But if you want to replace them with something stiffer to keep the wheels aligned under racing abuse, you will have problems.
 A drawing of the front suspension point for the lower front a-arm to clarify what I meant. The front suspension point is far from ideal, it consists of two washers that tighten two rubber donuts on a steel plate, and this is all that limits longitudinal movement of the lower a-arm.
 In the back the situation isn't as bad, but not very good either. The bolts are almost aligned with each other. If the bolts holding the rear suspension would be aligned, it would be easy to turn a couple metallic bushings to replace the stock ones. We do have some ideas to get it better.
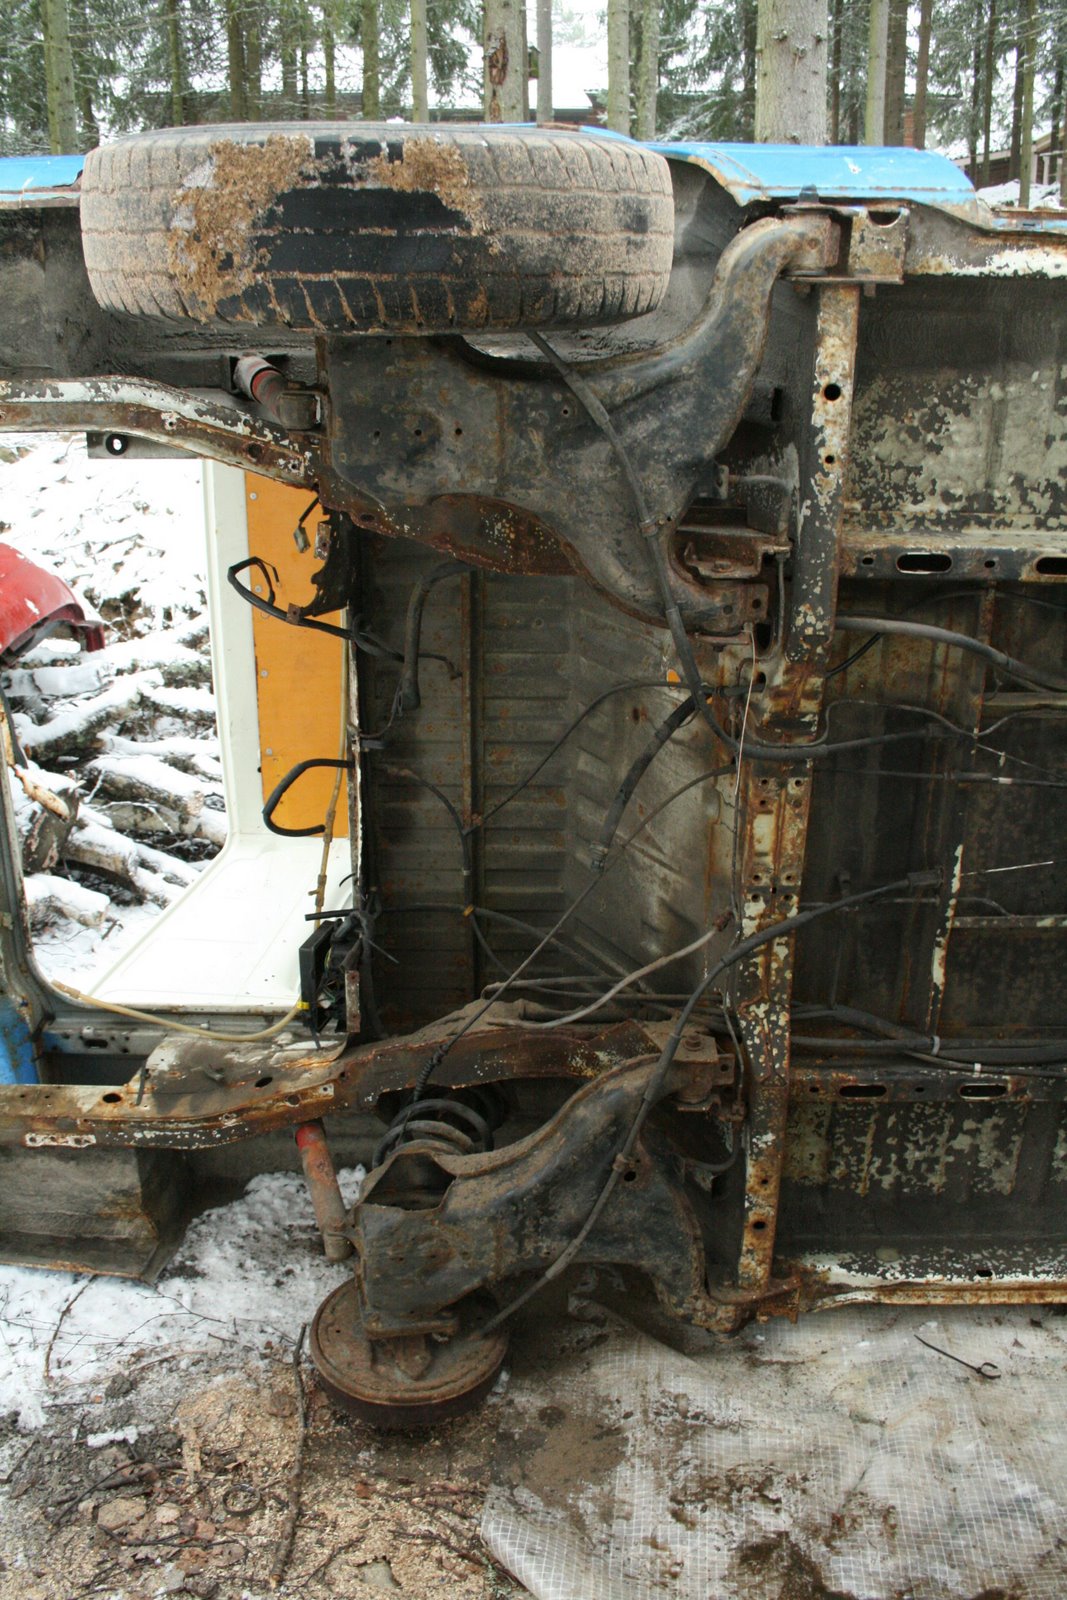
 Like the race taxi, we began with tipping the car over. We then took as spare parts the radiator, heater, shifter assembly and wiring.
 The front suspension is coming off, with frame and everything.
 You usually don't see the front suspension from this point of view.
 The car after we were done. Ultra rare double sliding door version. The coloring is what the Finnish telephone company used at that time, a nice three tone paint job. The car also had a good windshield, so we took it as a spare for the race taxi. The vent grille at the upper rear corner was also taken, in case we want to make a claer style grille for engine intake.
 Rest of the day was spent cleaning the cellar. There was still garbage bags, building material and insulation material from the time when the garage was built. I didn't take any pictures, because it looked really bad... It's a work still in progress, we only got through half of the stuff.
